
Install on a Raspberry Pi
The Chatter card is Raspberry Pi OS Lite (32-bit) with Docker and Chatter on it. It needs no internet.
System requirements
| You need | |
|---|---|
| Raspberry Pi | Pi 2, Pi 3, Pi 3A+, Pi 4, Pi 5, or Pi Zero 2 W (an ARMv7 or newer chip) |
| Not supported | Pi 1, Pi Zero, and Pi Zero W. Their older chip (ARMv6) cannot run Chatter. |
| Memory | 512 MB or more |
| microSD card | 16 GB or more |
| Network | A network cable, or WiFi. See WiFi on the Pi. |
| To flash the card | A computer with internet and Raspberry Pi Imager |
| Case | Optional. For a Pi 3A+, you can print a case. See 3D printed case. |
Flash the card
Open the newest release on the GitHub Releases page. Download
chatter-imager.json. This small file tells Raspberry Pi Imager where to find the card image (chatter.img.xz) in the same release. Imager downloads the card image for you.Not sure?
In the table Which file do I need? on the release page, look at the line A new Raspberry Pi.
Open Raspberry Pi Imager. Click APP OPTIONS, pick Use custom file under Content Repository, pick
chatter-imager.json, then click APPLY & RESTART.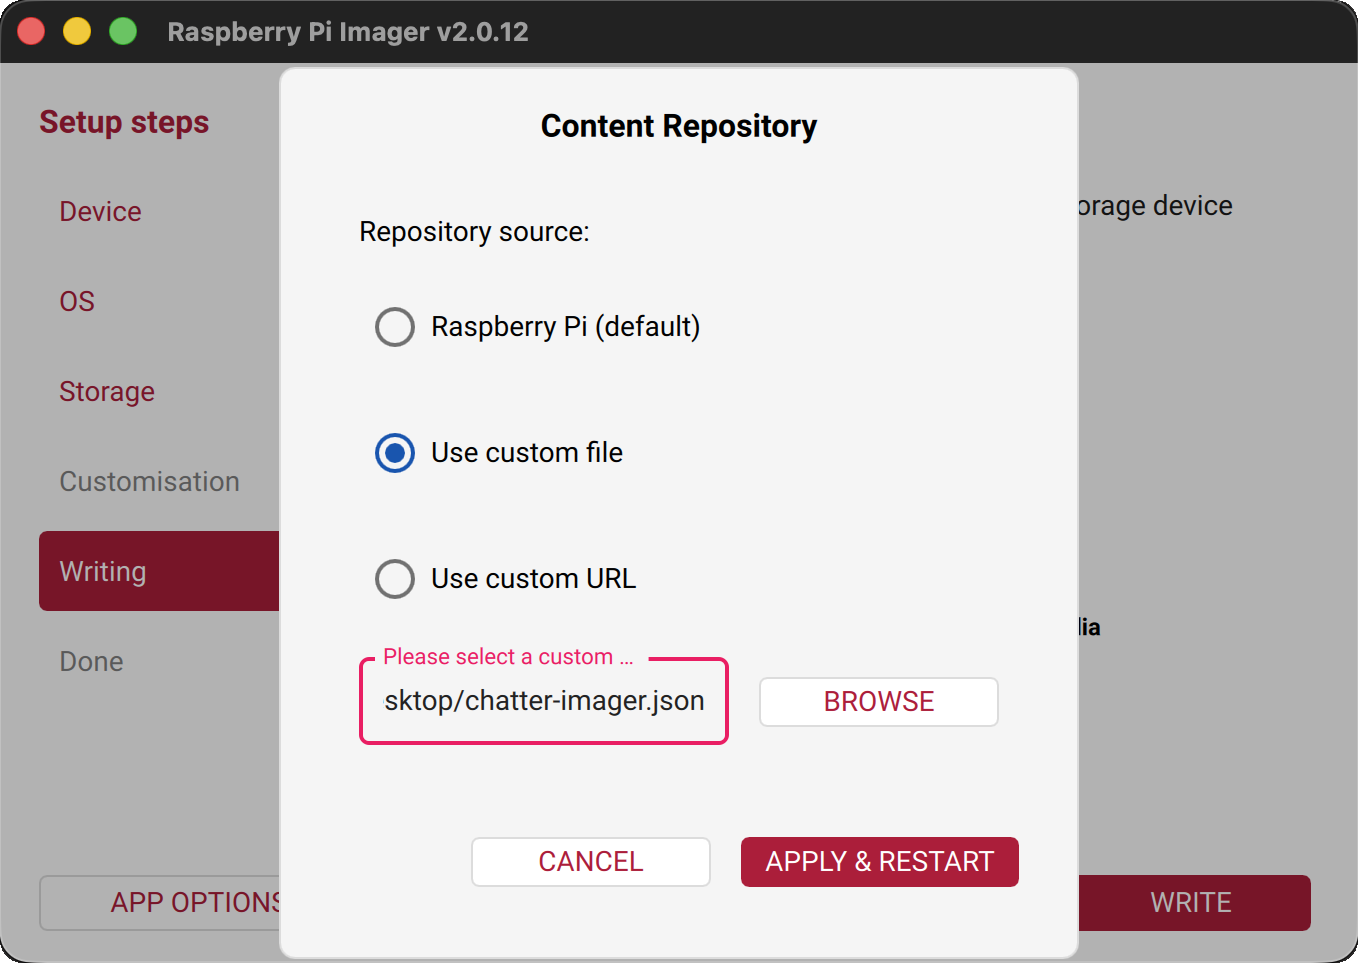
Go through the steps in Imager:
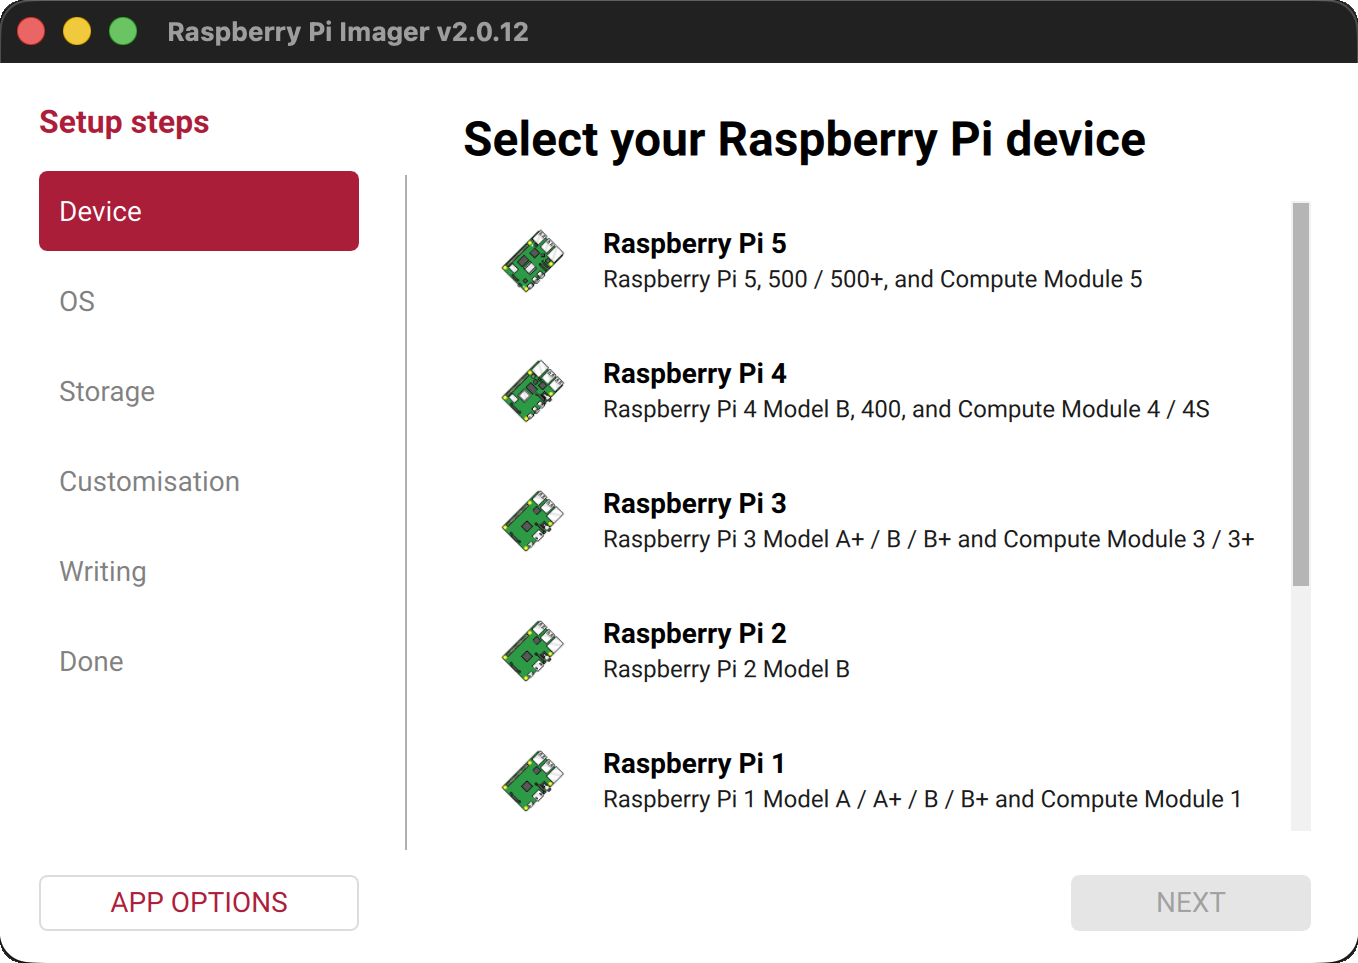
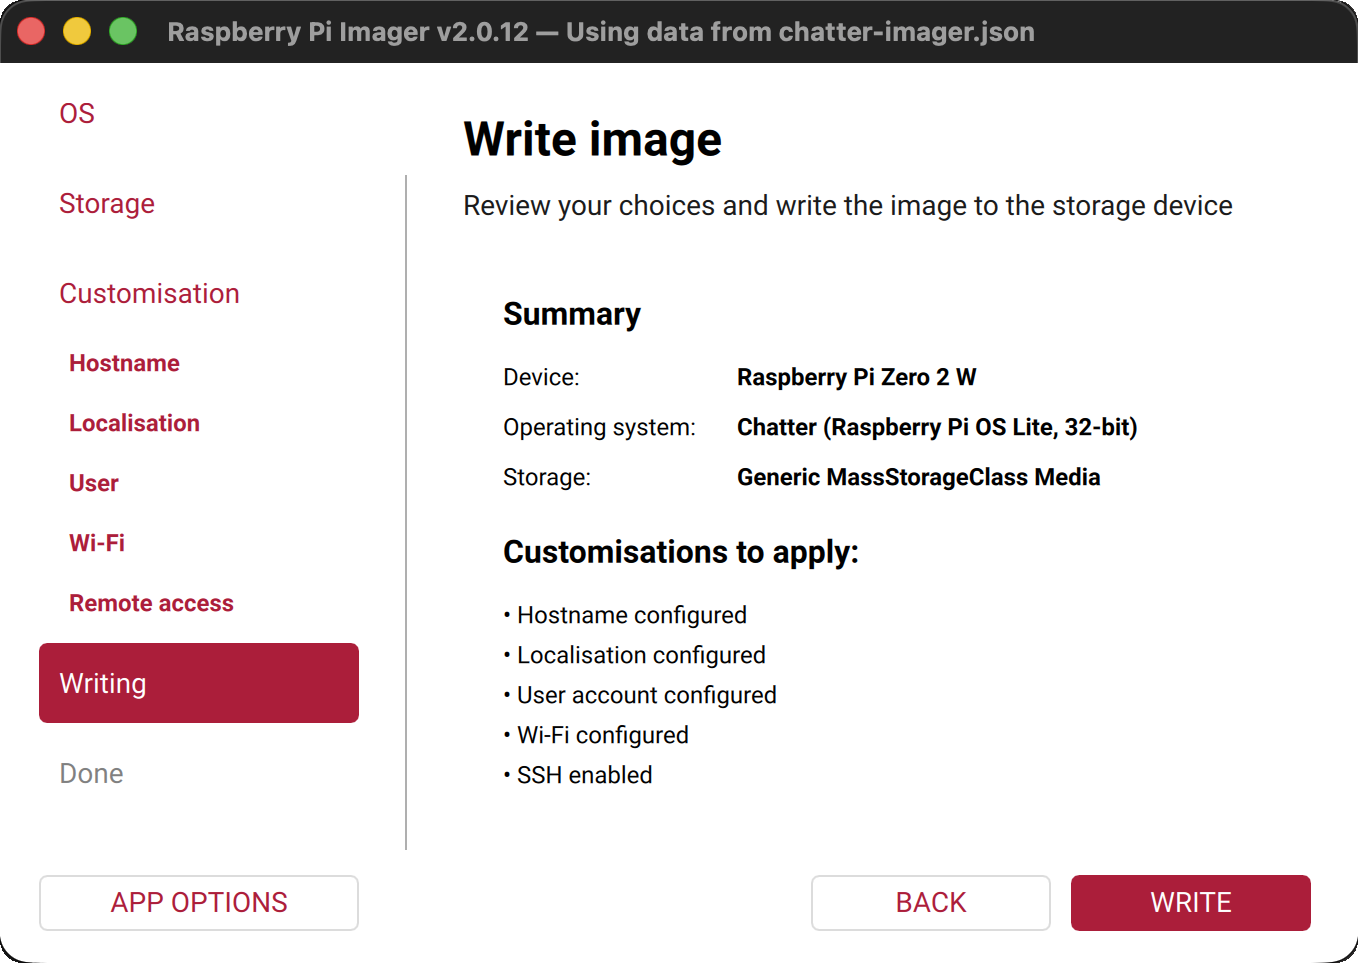
Device: pick your Pi. For a Pi 3A+, pick Raspberry Pi 3.
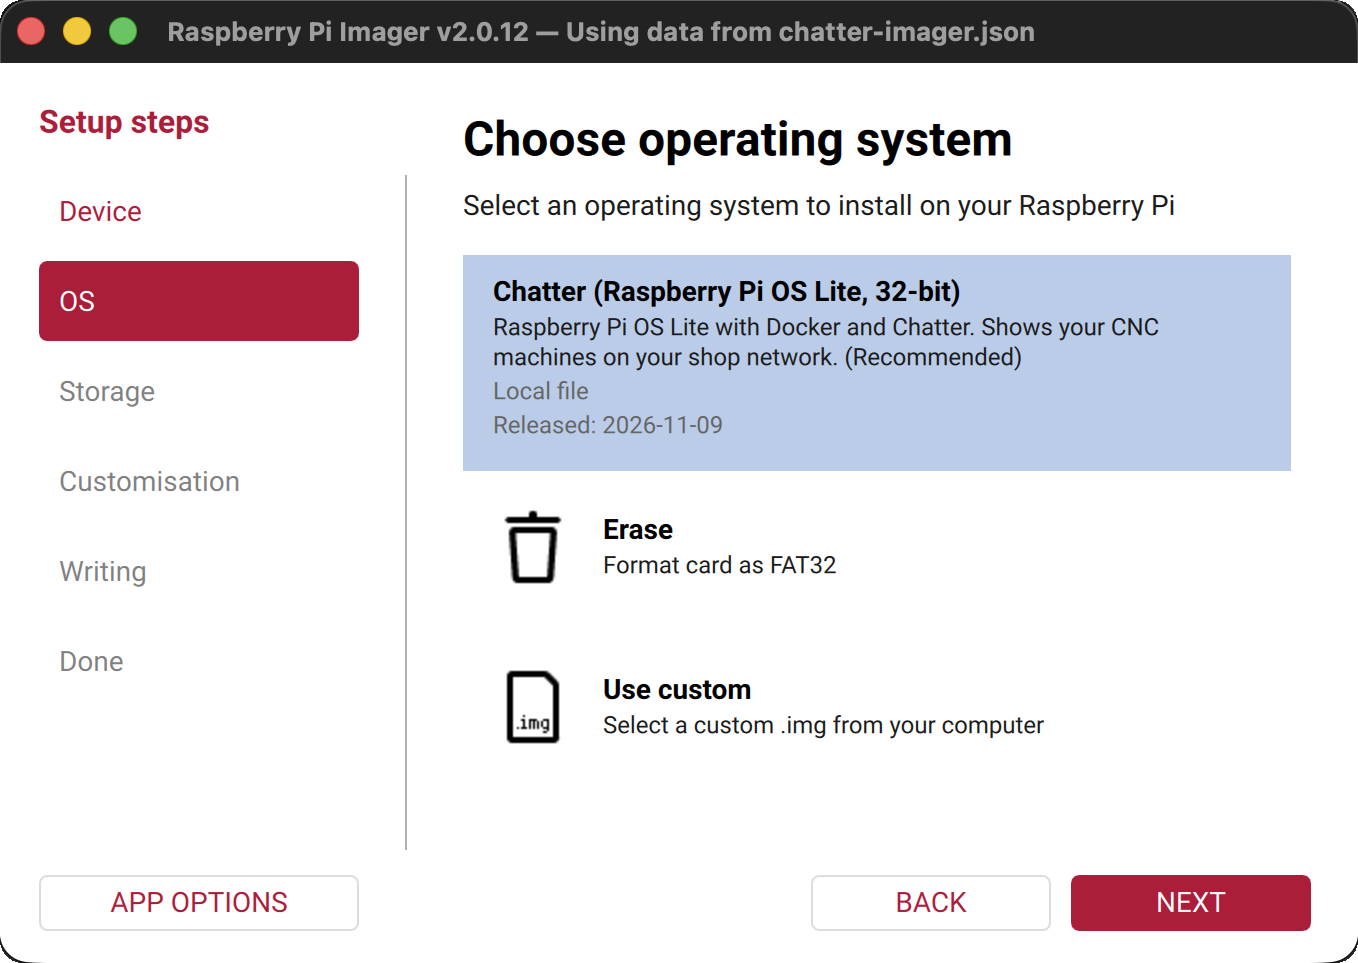
OS: pick Chatter (Raspberry Pi OS Lite, 32-bit).
Warning:
Do not pick Use custom. Then Imager skips Customisation: no WiFi and no user.
Storage: pick the SD card. Imager erases it.
Customisation: set these:
the hostname (for example
chatter)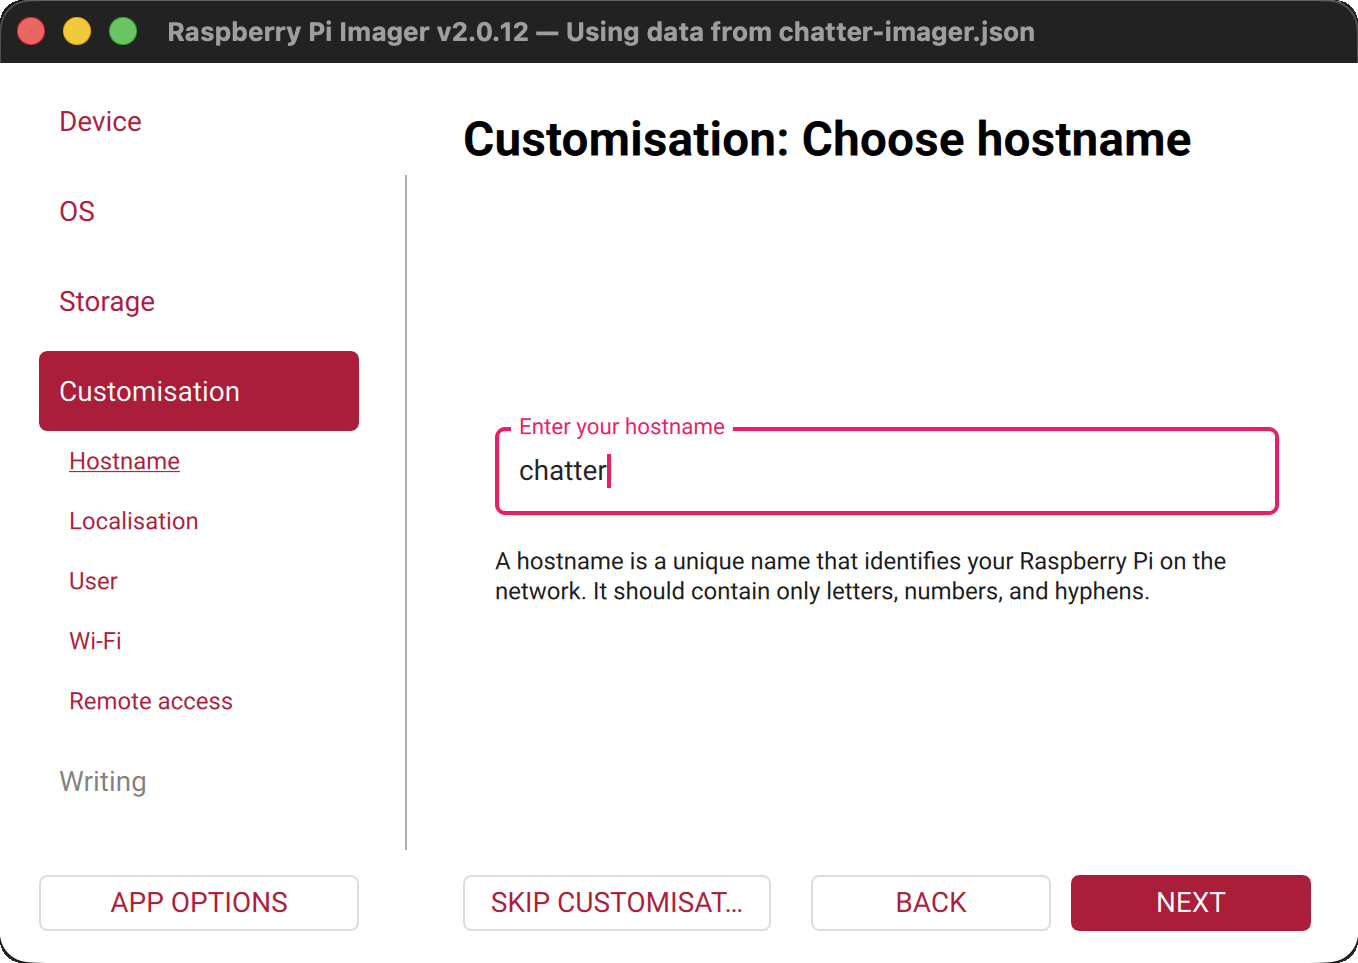
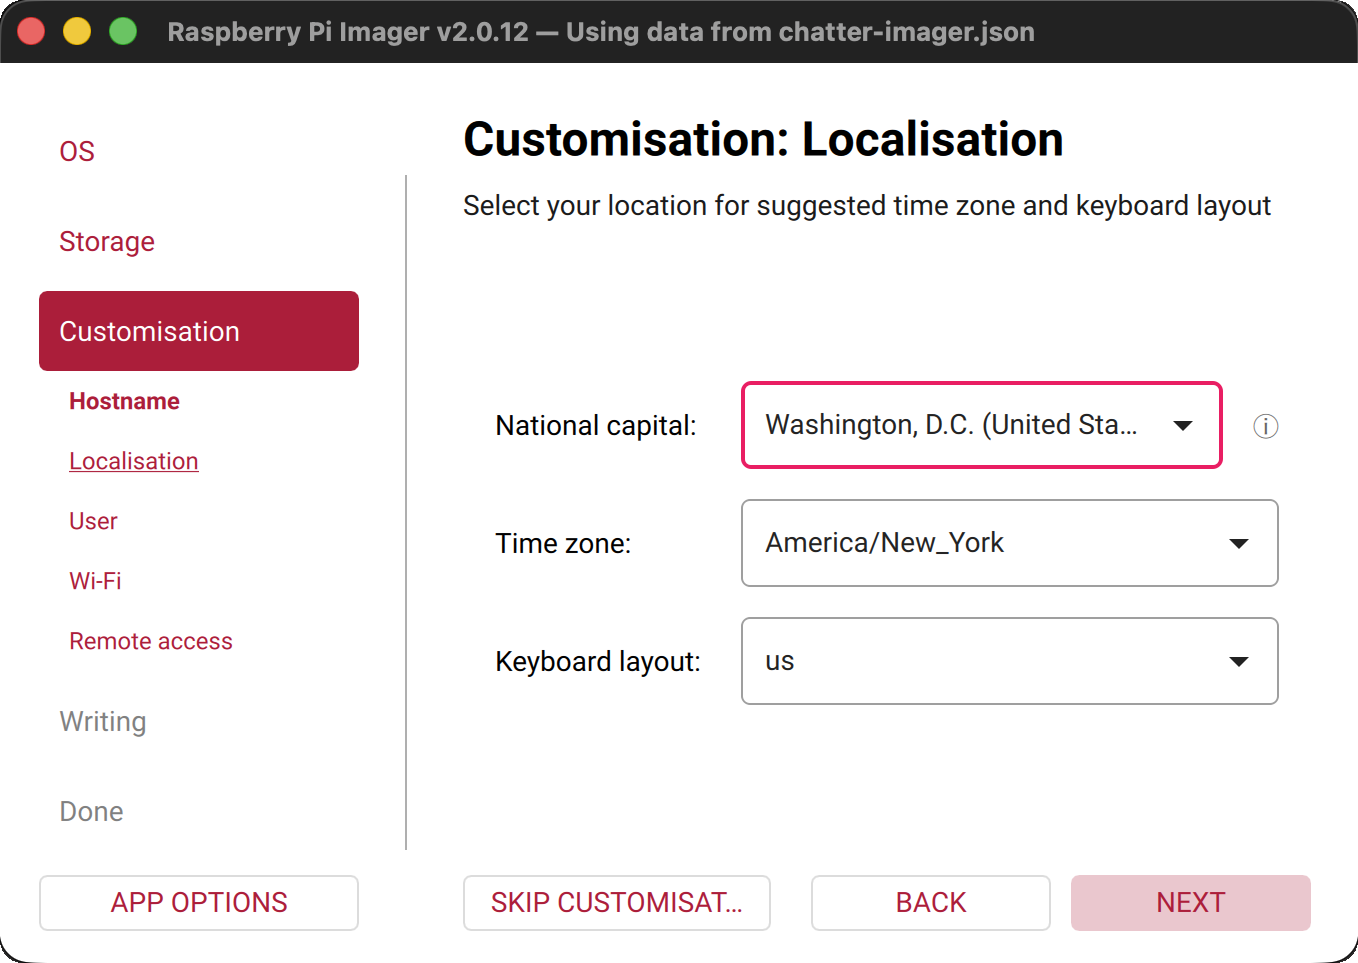
your time zone
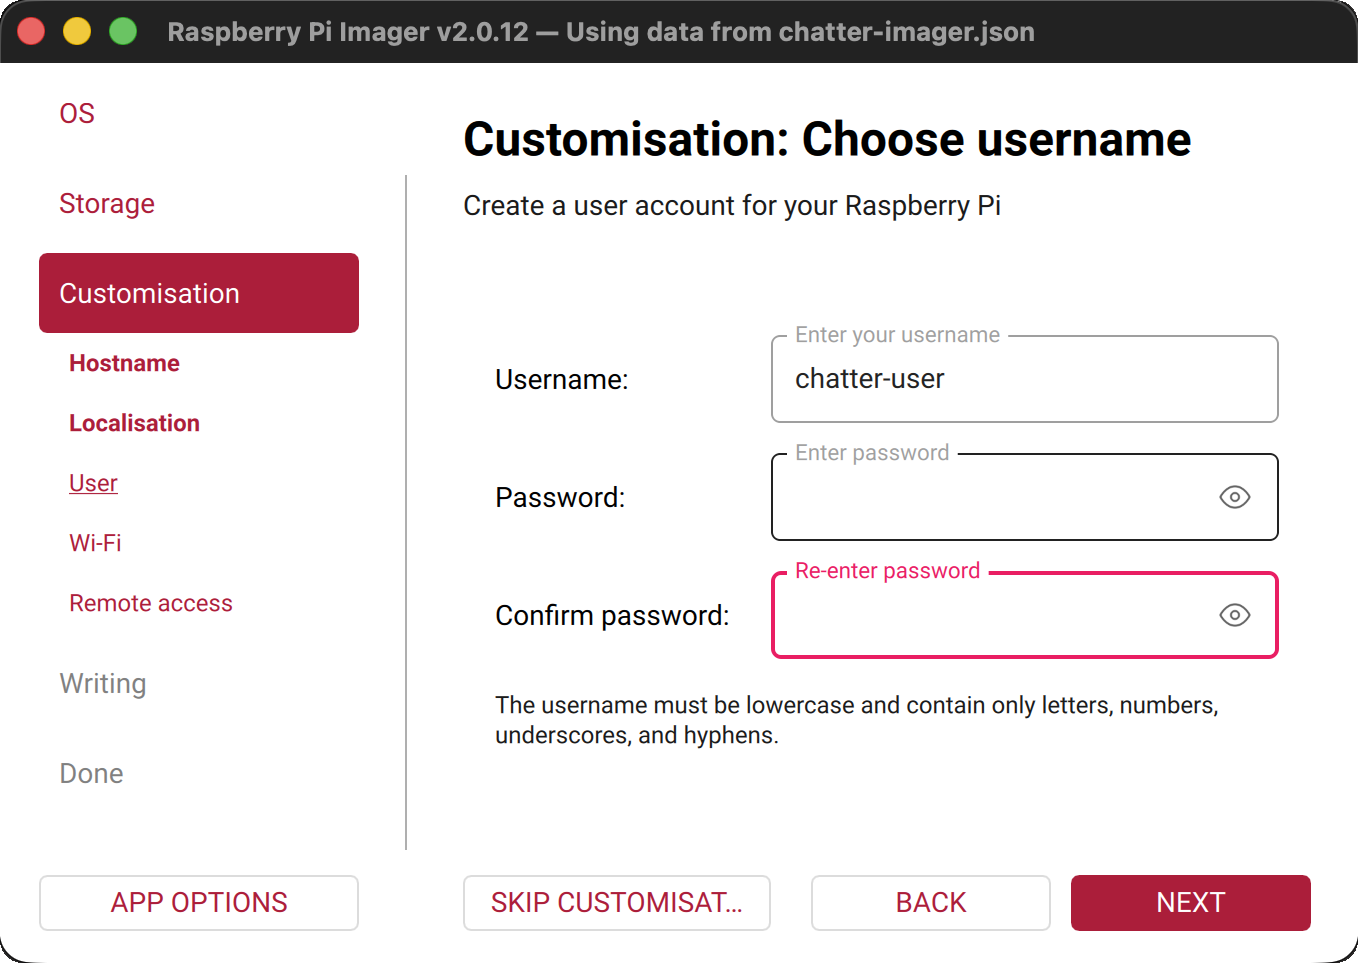
a user name and password
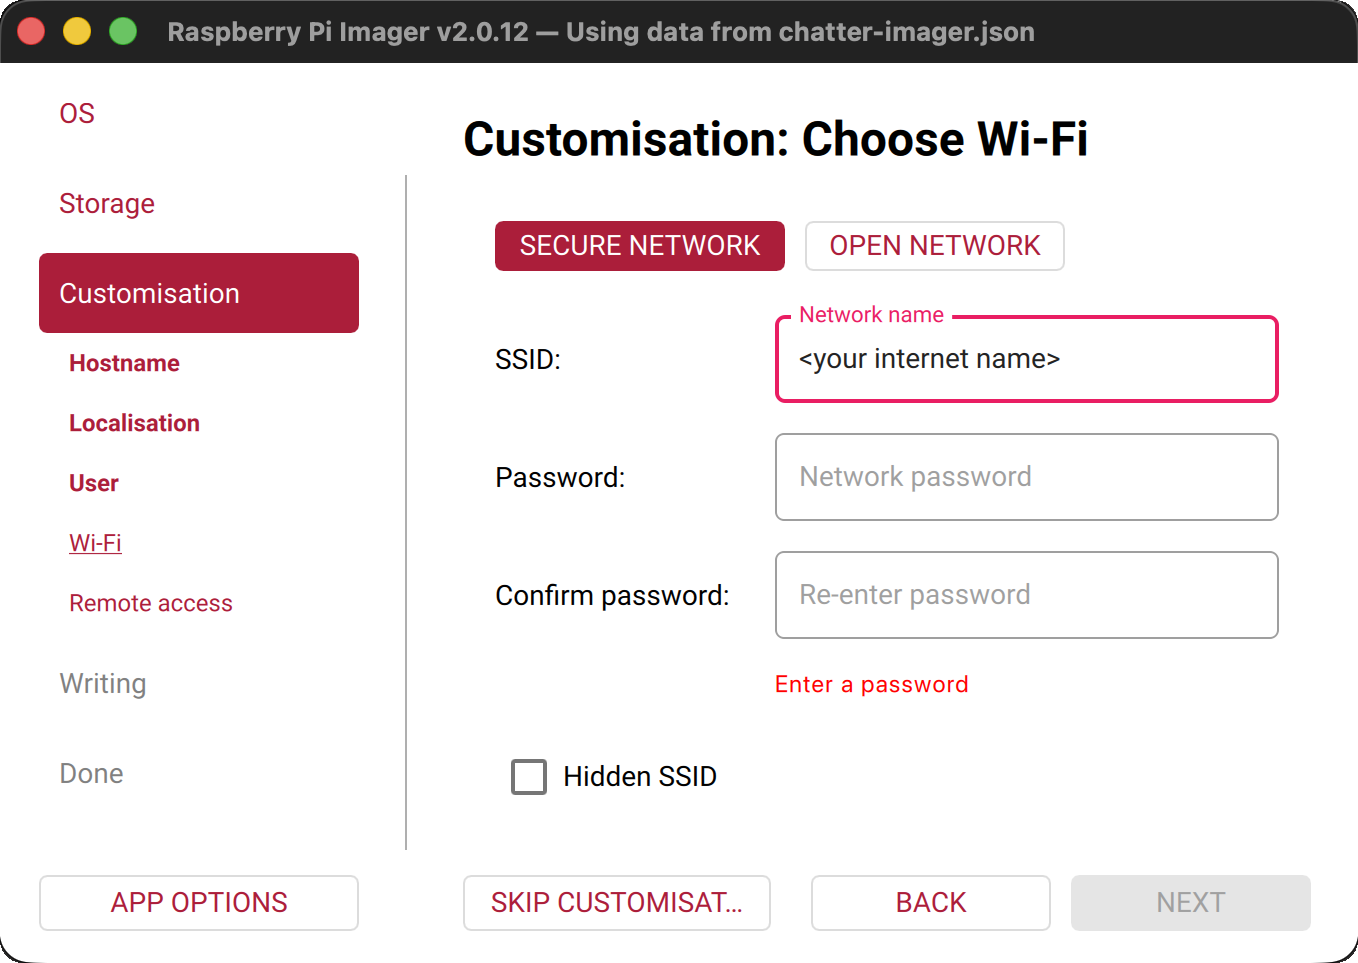
your WiFi, if you use no network cable. See WiFi on the Pi.
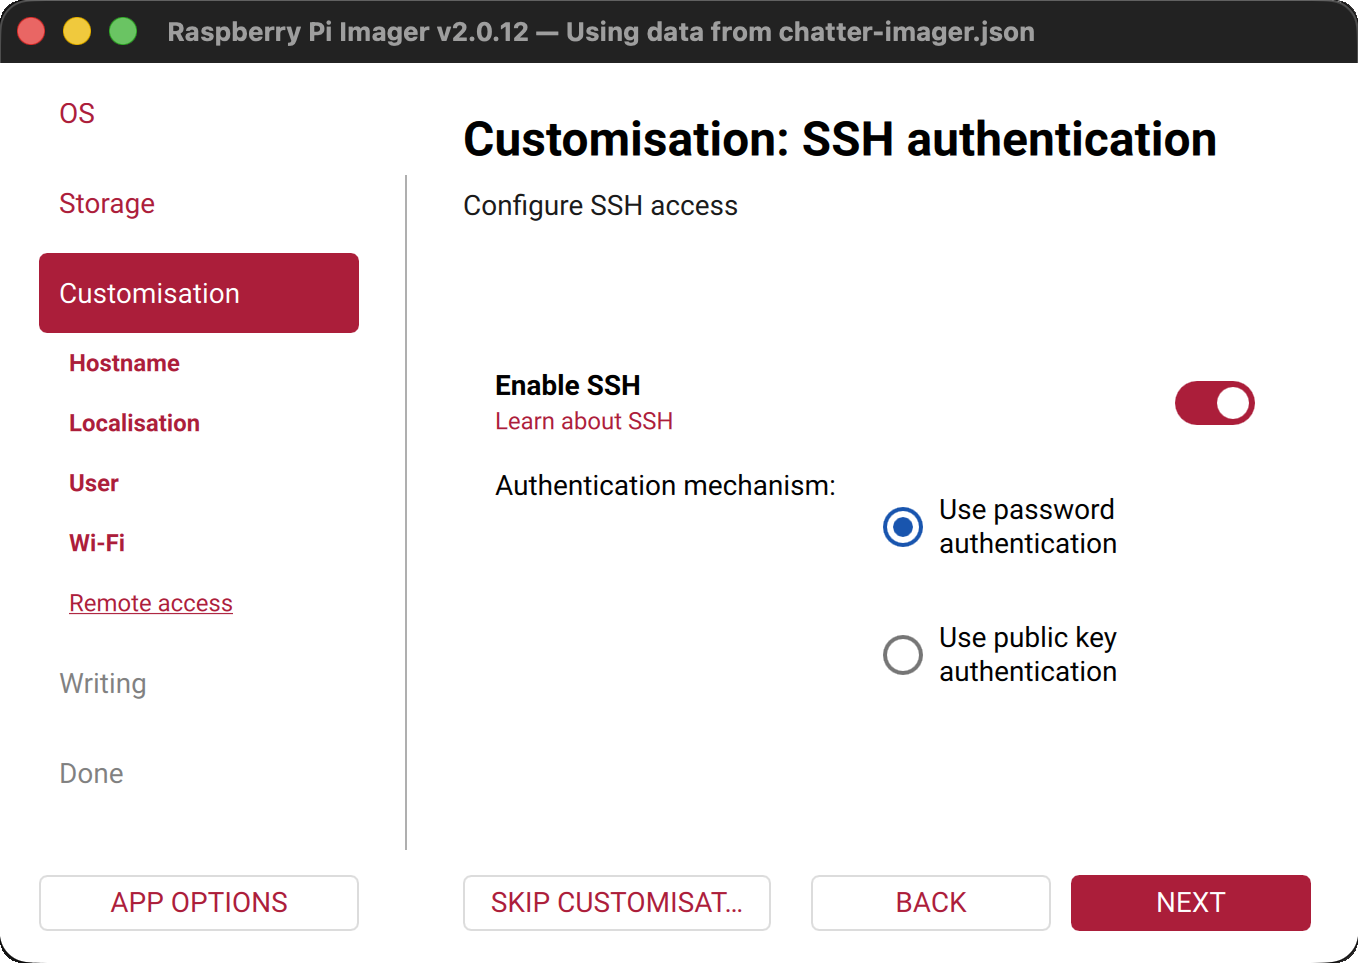
SSH, if you want it
Writing: click WRITE.
Warning:
The card has no user. If you skip Customisation, the Pi asks for one on its screen.
Put the card in the Pi, and connect the power.
Wait about 10 minutes. At the first start, the Pi loads Chatter from the card. Later starts are faster.
Open
http://chatter.local:3001. Did you give the Pi another hostname in step 3? Then put that name in place ofchatter, for examplehttp://shop-pi.local:3001.If the page does not open:
- Use
http://<the Pi's IP address>:3001. Your router's device list shows the IP address. - Chrome on a Mac shows a blank page? Open
chrome://net-internals/#dns, and click Clear host cache.
- Use
Do the steps in Get started.
To build the card image yourself, see Pi card image.
Chatter on the Pi
On the Pi, Chatter is in /opt/chatter, and chatter.service starts it. To see if Chatter runs: sudo systemctl status chatter. For a docker command in these docs, first run cd /opt/chatter, and put sudo before docker.
To update Chatter on the Pi, see Update Chatter.
Turn off Chatter: on the Pi (over SSH, or with a keyboard), run sudo shutdown -h now. When the green light stops blinking, disconnect the power. A red light can stay on. Your data stays on the card, and Chatter starts again by itself when the Pi gets power. If you disconnect the power while the Pi runs, you can lose the last few seconds of history. In rare cases, the SD card can get damaged, and then you must flash it again.
WiFi on the Pi
- Some Pi models, such as the Pi Zero 2 W and the Pi 3 Model B (not the 3B+), use only 2.4 GHz WiFi. Make sure that your network has a 2.4 GHz band.
- Some Pi models do not connect to a network with WPA3, or with mixed WPA2/WPA3 security. If the Pi does not connect, use a network with WPA2 only. Many routers let you add a second network for this.
- Type the WiFi name and password exactly. Capital letters and spaces count. A WiFi name that starts or ends with a space can fail, so rename the network if it has one.
- If you cannot find the Pi on your network after 10 minutes, look in your router's device list, or connect a screen to the Pi and read its start messages.